Welcome back
rebels to the final season of Star Wars
Rebels. I’m sure you’ve noticed some
changes this season one being that each week there are two episodes released.
Each episode contains two parts which are great, but I want to savor the last
season as much as possible. Don’t just throw the episodes at me slow down a
little. This season will have 16 episodes, and we are already more than halfway
done.
But before
the end, there are few things or events that must happen before that final
episode. The first being the romances.
It must happen, and no unrequited love will not be acceptable. This season
should have Hera and Kanan at least acknowledge their feeling and seal the deal
with a kiss. The same for Sabine and Ezra give this young love a great beginning
to their love story.
The second
event I must see, or should I say a person is, Ahsoka Tano. Is she still alive
and if so what is she doing and what is her new purpose? The final thing that concerns me is what
becomes of Phoenix Squadron do they all survive and are they continuing to
fight for the rebellion during the original trilogy. Let’s see where this season is taking us and
wherein the galaxy far far away does our beloved characters end up. For the
remainder of this review, SPOILERS
are ahead.
Rebels Recap: Heroes of Mandalore Part 1 & 2

The first
two episodes pick up in a place that is a direct result of last season’s
finale. When Sabine came to help the rebellion against Thrawn, she asked for
help in return. The rebels travel to Mandalore to rescue her father from being
executed from the Empire. Just for a second, I want to focus on Sabine. She still is resistant and unwilling to claim
the dark saber as her own. Instead, she tries to hand it off to anyone who is
willing to take on that responsibility. Sabine wants nothing more than to help
her people not lead her people.

So, a few of
our rebels including Kanan, Ezra, and Chopper lend Sabine and her fellow
Mandalorians a hand in this prison break.
Everything goes as well as it usually does until they realize that her
father is not here, it’s a trap!

Sabine
receive some help from a familiar face, Bo-Katan. As soon as Sabine hears she’s
a legendary Mandalorian she immediately tries to hand her the dark saber.
Bo-Katan refuses she doesn’t believe she is the leader Mandalore needs but
believes that Sabine could be.
It turns out the Sabine's father is being
transported to the capital for a public execution. So there only chance to save
him would be before they reach the capital.
Once again Sabine takes the lead, and Ezra ultimately is the one to save
him with the assistance from the jetpack. Which isn’t his favorite tool but
it’s interesting seeing him struggle with it. The Jedi usually pick up things
fast, but Ezra is a slow learner when it comes to that Jetpack. We finally meet Sabine’s father, Alrich Wren,
who also has a passion for art. At
first, Sabine was worried her Dad wouldn’t be happy to see her because of her
involvement with that weapon. A weapon that we have yet to see but moments
later is put into action against several members of her clan including her
mother and brother.


Rebels Recap: In the Name of the Rebellion Part 1 & 2

Which leads
us to our next two-part episode where Sabine, Ezra, Kanan, and Chopper return
to Yavin 4 Base one and are welcomed back by Zeb. And witness Hera returning
from a mission with her crew nearly crashing landing. A mission that could have
been successful if a certain powerful communication relay didn’t allow the
Empire to responded quickly to the rebel’s attack. Apparently, there was
information divulged to them about a very powerful communication relay, but the
source was one they did not trust. That source was non-other than Saw Gerrera.

In response to them not listening Saw sends a droid that allows him to
talk with Mon Mothma. This conversation is made in front of everyone, so
they can see how two people fighting for the same thing can have two completely
different approaches. When it comes to
Saw Gerrera character, it’s all about how far your willing to go in war.

Our rebels
are given a mission to tap into the commination relay which would allow them to
listen in on the Empire. Not the response Ezra or Hera was looking forward to
hearing. They wanted nothing more but to destroy it. But orders are orders, so
the rebels proceed, but you already know the plan is going to go wrong some way
before its resolved. Ezra, Sabine, and
Chopper drop down onto the dish and are in the process of bugging the rely when
another ship arrives, and the dish starts to move. Once again Ezra is put up to speaking with
the Empire. He messes it up again by claiming to be the guy he was speaking
too. While Kanan, Zeb, and Hera are
fighting in the air, the others are fighting on a moving communication dish.


And in the nick of time Saw Gerrera shows up with explosives and offers them a
ride. The communication relay is
destroyed, and Ezra, Sabine, and Chopper are forced onto a mission with Saw. What
could go wrong?

This mission
has to do with the top-secret project that we all know is the death star, and
they have yet to uncover. But they’ve come close a couple of times on this show
to unlocking the truth. They board a
civilian cargo ship that has lots of imperial officers aboard which is very
suspicious.


They first find civilian
prisoners who are all researchers and mechanics. The second thing they see is a
massive and unstable Kyber crystal. A
Kyber crystal powers a Jedi lightsaber. Saw turns on them and Stuns Sabine and
Ezra and makes the Kyber crystal unstable. That abruptly stops that partnership
has Saw leaves our rebels behind.


Rebels Recap: The Occupation & Flight of the Defender

Our next set
of episodes brings us back to Lothal and it’s no longer the home Ezra
remembers. The circumstances that bring
our rebels back to Lothal having nothing to do with freeing them from Empire
occupation but rather intelligence gathering.
During a mission briefing, it was revealed that the Empire is developing
yet another new TIE Defender. So, they
want to send in a team to investigate and gather any information they can on
this new TIE Defender. Even knowing that this team will probably never make it
back, they still greenlight the mission.

The Empire
scan the ship and detect other life signs so once the ship lands on Lothal the
Empire is waiting there for inspection. Our rebels escape, but Vizago is
captured. Our rebels split up and search
the city for transportation and any sign of familiar faces.

Leading us to a moment
between Kanan and Hera. When Kanan wishes he could see Hera. She replies, “You
could always see me.” And they lean in
for the kiss and nope. The Empire crashes the party, and our Rebels run to Old
Jho’s. The Empire now control a place that was a haven away from the Empire.
Old Jho was killed by the Empire and is another loss felt by Ezra. Our rebels
receive some help from Jai Kell who shows them old smuggling tunnels to escape
from the Empire. After a few close calls, the rebels reach the end where they
find Ryder who pulls them all to safety.
The first
thing Ryder ask is when the rest of the rebellion is coming to help, and
unfortunately, as of now, that won’t happen. So, the rebels inform him of their
current plan to investigate the Empire’s new fighter. Which they hope will lead the Rebellion to
reconsidered helping Lothal fight against the Empire.

The rebel investigate the
new TIE defender and are amazed by how fast it is and of course the rebels
don’t stick to the plan. And by rebels, I mean Sabine and Ezra. Sabine decides
that the flight data recorder would be much better intel to delivery to the
rebellion. But the catch is it's inside the ship, so she sneaks into the ship
while Ezra stands guard. And of course, things go wrong, and Ezra is to blame.
He is distracted by the Loth-wolf when a Stormtrooper spots him and starts to
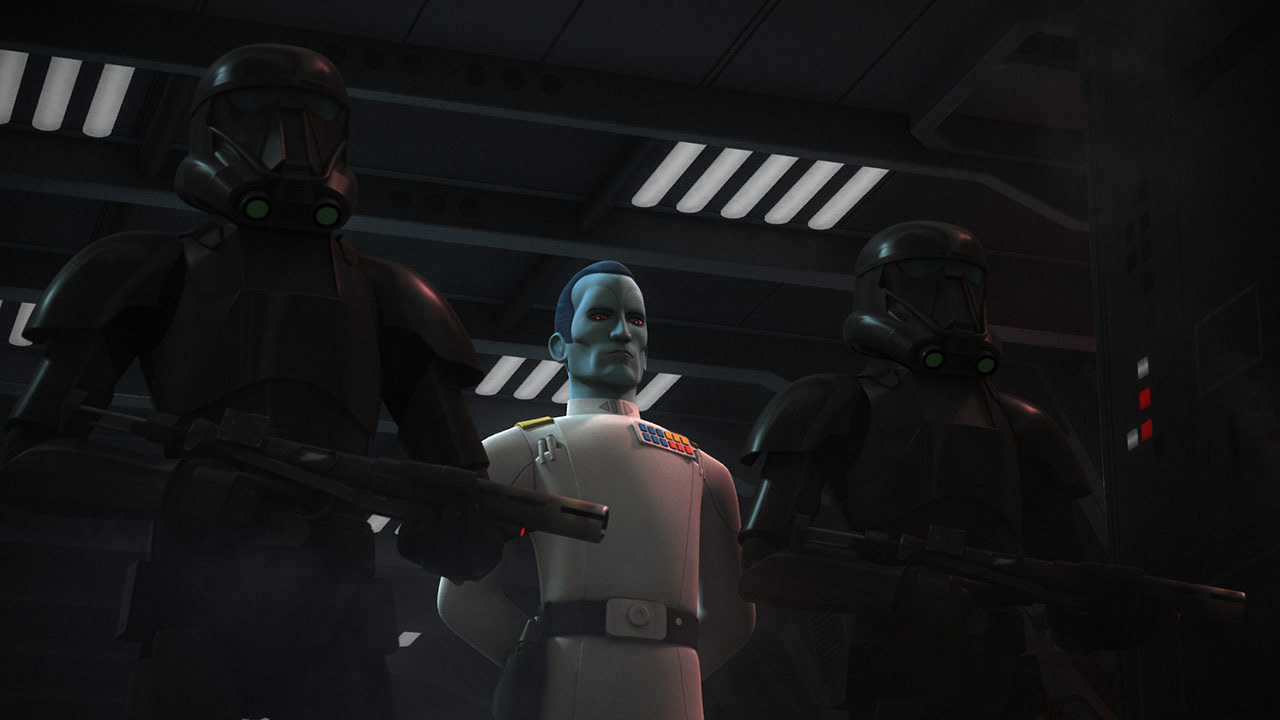
shoot at him. Capturing the attention of non-other than Grand Admiral Thrawn
and Ezra waves at him. He then jumps into the ship with Sabine. They decide to
take the ship and start to shoot all the other ships and the start shooting at
Thrawn. And he just stands there and shoots
back like a total badass.


Sabine and
Ezra then try to fly away, but fortunately, she remembers that the Empire has
the power to disassemble a ship which causes them to crash land. Sabine and Ezra hide the ship's hyperdrive
and will use it later to escape and deliver the flight data recorder. Ezra
receives some help from the Loth-wolf who knocks out Sabine and carries them to
the rest of the ghost crew.


They put the
hyperdrive in the ship. Hera is now prepared to leave, but before she does she
has another moment with Kanan and this time they finally kiss. It was perfect
Hera was on her way out, and she just grabs Kanan and plants one on him. And then she flies off escaping the blockade
and making it to the rebel base. Meanwhile, that tracker leads the Empire right
to our rebels who receive help from the Loth-Wolf once again. The rebels escape into these mountain caverns.
The Empire begins to bomb the caverns, and our rebels seem to be trapped, but
he Loth-Wolf brings our rebels deeper into the caverns. The walls begin to
glow, and our rebels are transported to the other side of the planet. Kanan
touches the Loth-Wolf and learns that Lothal and the force are strongly
connected. The Empire is up to something more devious and destructive than TIE
defenders. With this message, the Rebels
now need a way to communicate with the rest of the rebellion. This dilemma
leads us to the next episode.
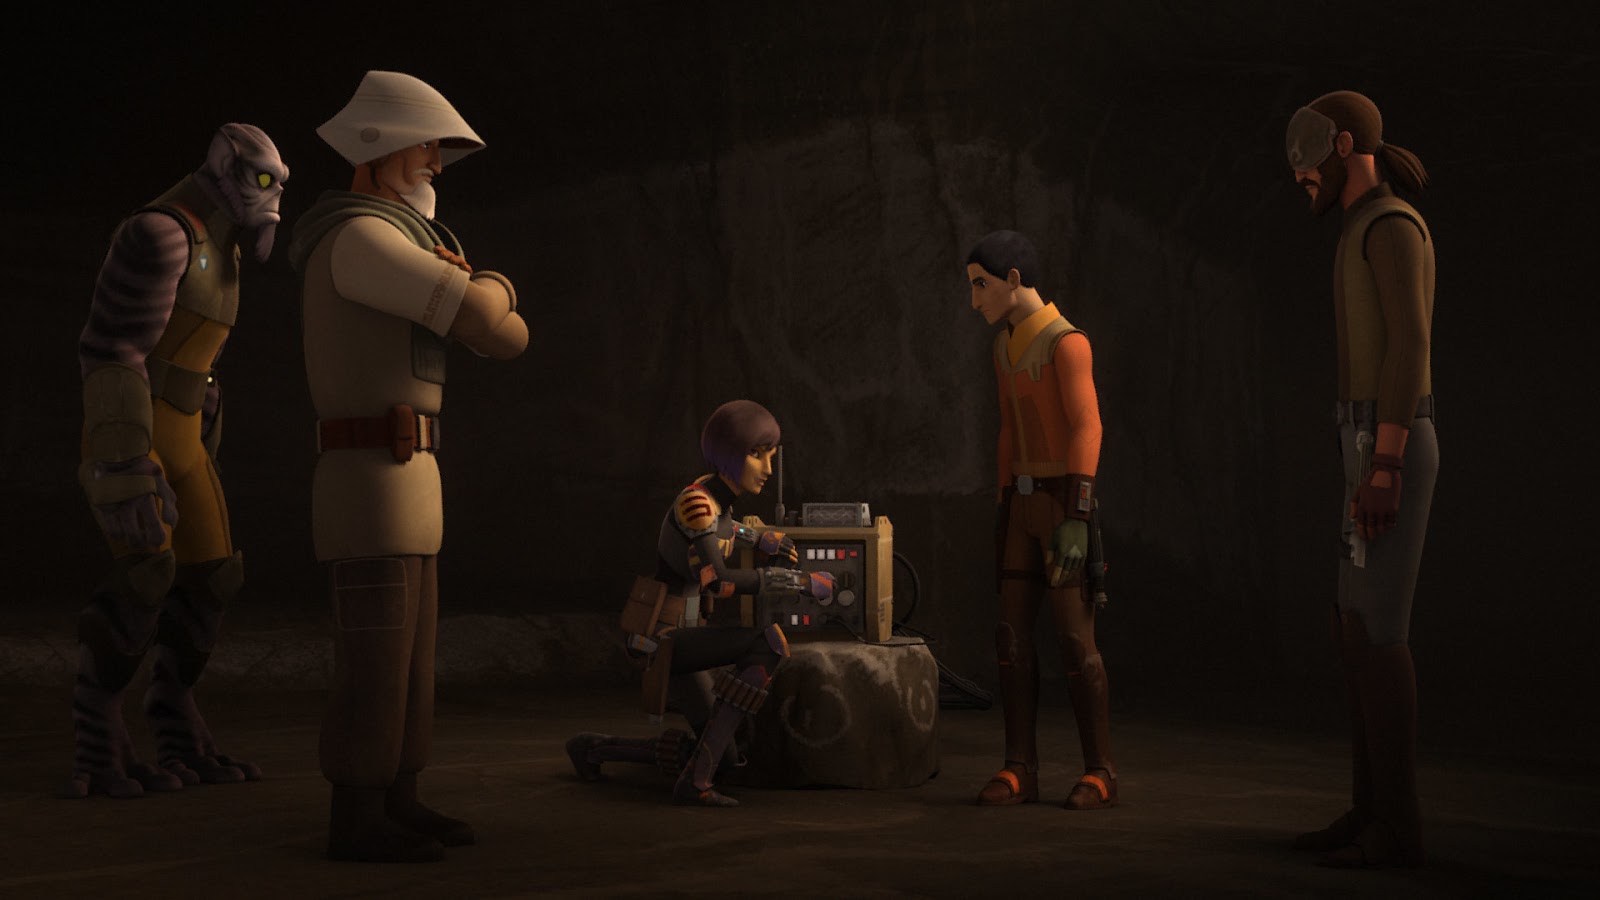

Sabine tries
to power up a transmitter, but it’s not powerful enough to reach Yavin. Luckily
for them, they pick up a signal of a transmitter powerful enough to each Yavin.
The signal is coming from an Ore Crawler, and all they must do is infiltrate
and claim the communication array. Meanwhile, Hera is back on Yavin gaining
support for an assault on the TIE factory on Lothal. Of course, the rebellion
is hesitant at first, but Hera persuades them that this is the best course of
action. Our friends back on Lothal break
through and gain access to the Ore Crawler. For some reason they allow Ezra to
talk to the Empire again which was a mistake because the Empire sends a team
down for another inspection. Our rebels then pretend with the help of Vizago to
be running the Ore crawler as usual. Not sure how but our rebels pull it off
with a few scrapes and send a message to Hera. She replies that help is on the
way.
Rebels Recap: Rebel Assault

The
Midseason finale episode did not disappoint.
The episode begins with our rebel’s friends taking out a few of the
Empire’ s ground defenses. Hera arrives with X-wing squadron, and their first
step is to get through the blockade. Grand Admiral Thrawn is there coordinate
the defense and Hera take them down one by one. They pass the blockade and
enter Lothal’s atmosphere only to run into the second wave of fighters. This
completely blindsides X-wing squadron.


Leaving Hera to crash down onto Lothal and few other survivors. As soon
as Kanan sees the aftermath of the attack he heads off alone to save Hera. Hera finds Mart Mattin and is unable to
communicate with anyone. So, she plans to escape the city. Chopper helps them locate a tunnel, and on
the way, there they run into Rukh. Whose mission is to round up all the
survivors and the top priority is Hera.
Rukh escapes to the rooftops seeing as he can’t take all three of them
and watches them from the shadows.


Photo
Credit: Star Wars.com, YouTube.com, Disney, Lucasfilm
Created by:
Jasmine Yard